12.4. STS4の設定手順
なお、以降の解説はJava、Maven及びアプリケーションサーバーがインストールされていることを前提としている。これらのインストール手順については各自で調査されたい。
12.4.1. Spring Tool Suite 4とは
12.4.2. STS4の導入手順
12.4.2.1. STS4の導入
なお、以下で紹介する導入手順はWindowsを前提としているため注意されたい。
ダウンロードした「spring-tool-suite-4-4.x.x.RELEASE-e4.xx.x-win32.win32.x86_64.self-extracting.zip」を任意のフォルダに展開する。 展開されたフォルダ内の「SpringToolSuite4.exe」を実行することでSTSを起動することができる。
12.4.2.2. プラグインの導入
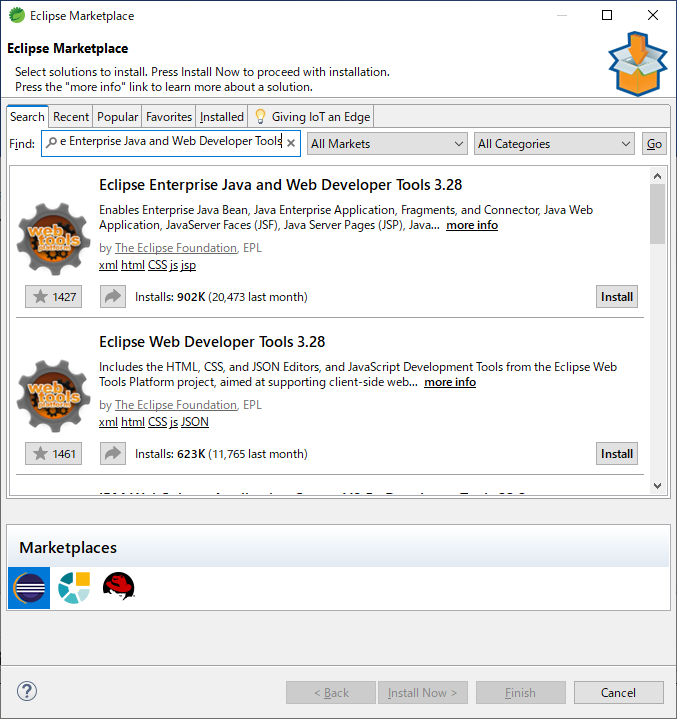
Eclipse Enterprise Java and Web Developer Tools
Webアプリ開発用のプラグイン(WTP)やJSPエディタを使用するために必要なプラグイン。
Note
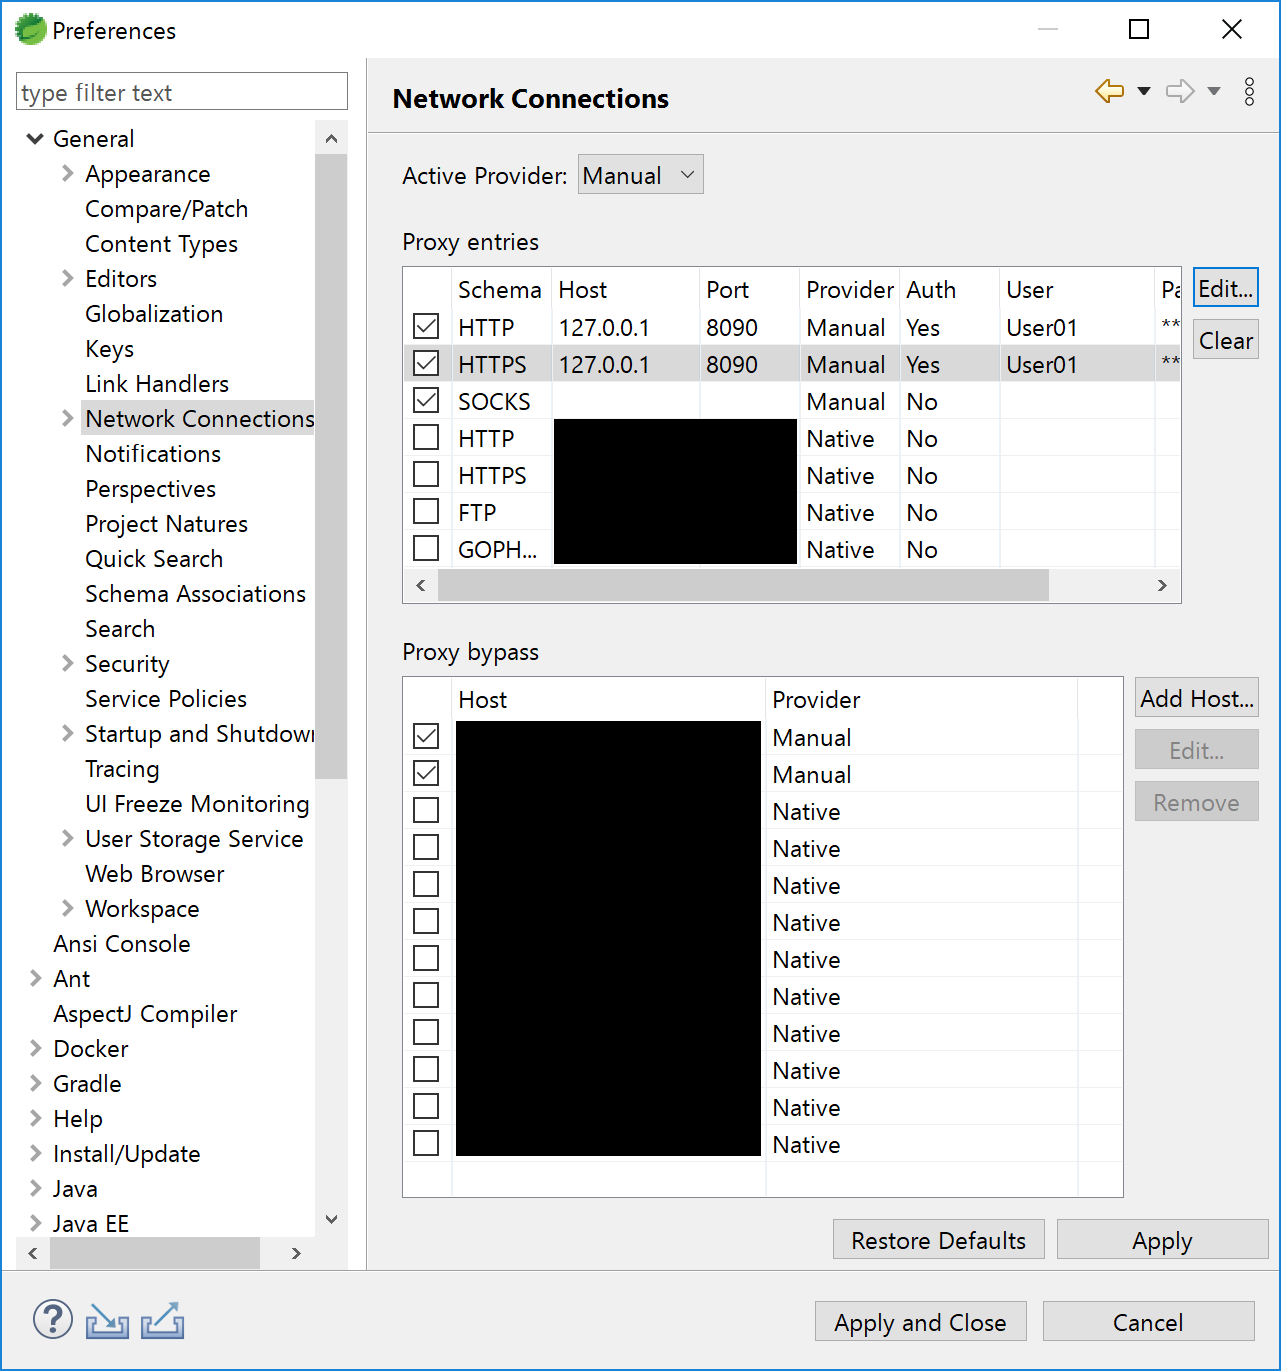
プロキシ環境下でプラグインを導入する場合、プロキシ設定を行わないとEclipse MarketPlaceに接続できずプラグインを導入することができない。
プロキシ設定は以下の手順で行える。
STSのメニューから、Window > Preferences > General > Network Connections からプロキシ設定を開き、Active ProviderをManualにしてHTTPとHTTPSにプロキシを設定する。
12.4.3. 作業用の事前設定
12.4.3.1. JavaScriptのエディタ設定
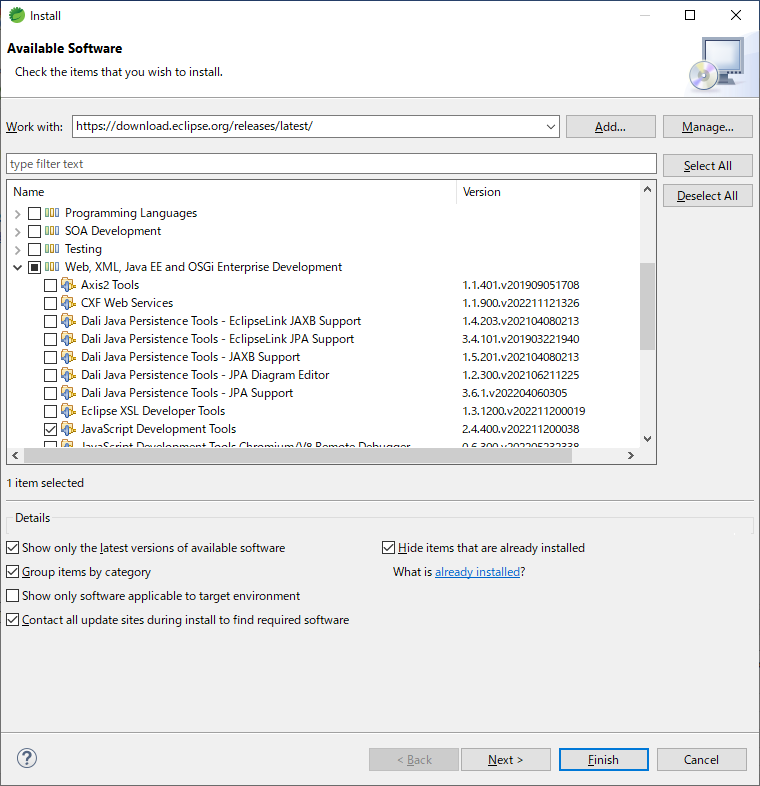
STSのメニューから、Help > Install New Softwareを選択し、Work withに「
https://download.eclipse.org/releases/latest/」を入力する。Web,XML,Java EE and OSGi Enterprise Development > JavaScript Development Tools を選択し、インストールを行う。
Note
JSDTのインストール後、再起動を行うことで自動的に.jsファイルをJavaScript Editorで開くようになる。自動的に切り替わらない場合は、STSのメニューから、Window > Preferences > General > Editors > File Associations を開き、*.jsファイルに対してJavaScript Editorを関連付ける。
12.4.3.2. Java設定
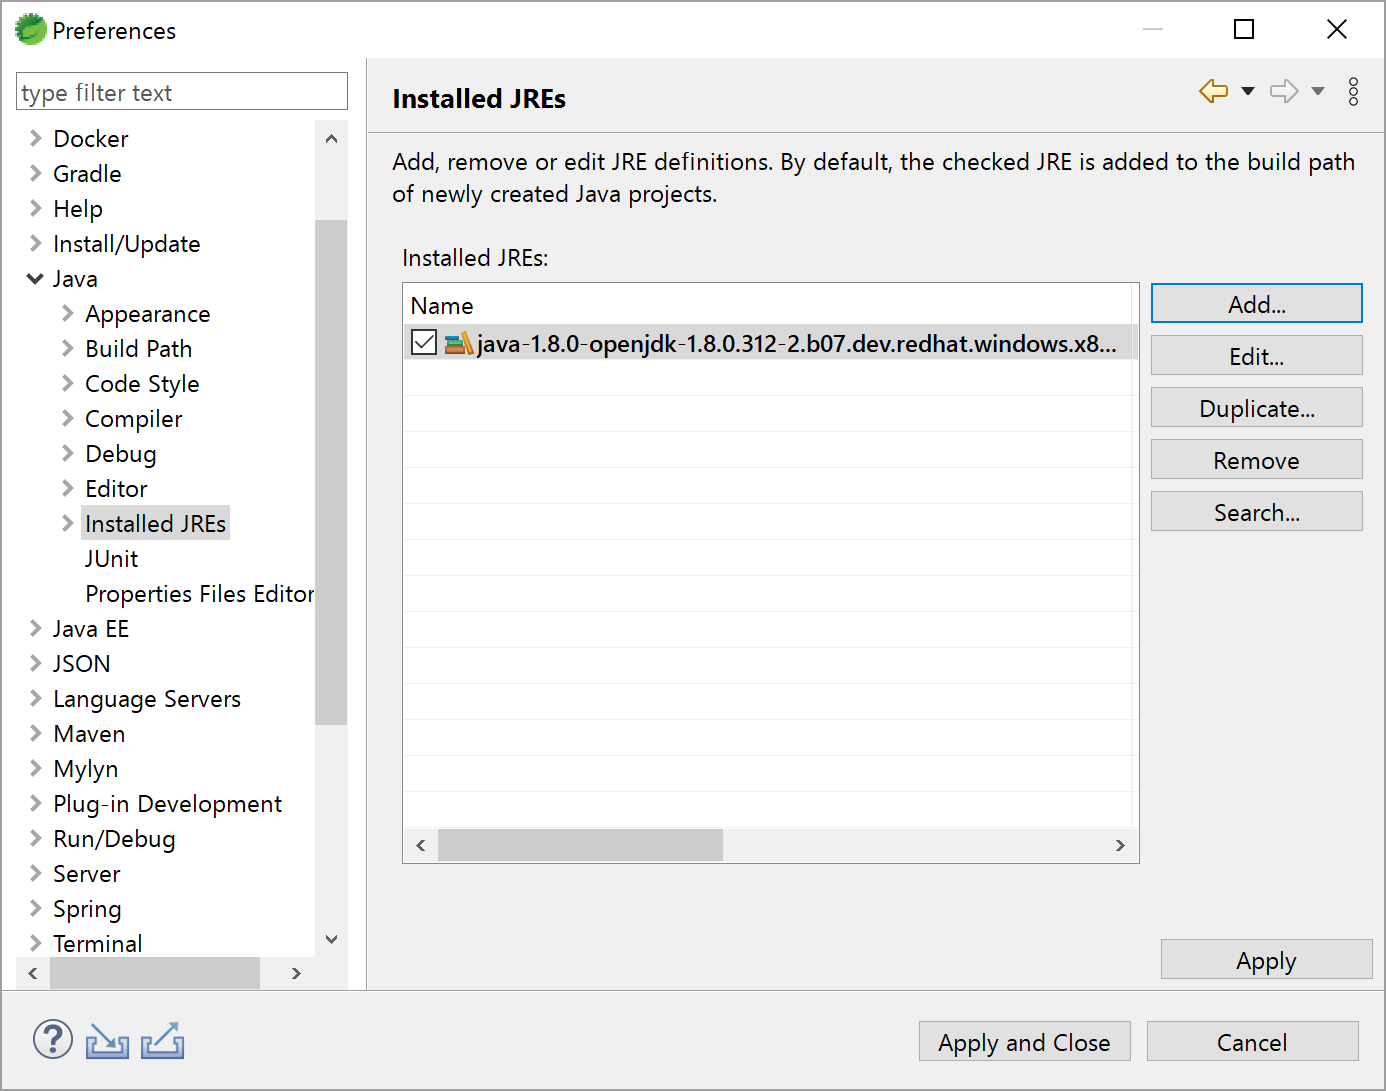
STSのメニューから、Window > Preferences > Java > Installed JREs を開き、予め用意したJDKにチェックがついていることを確認する。
用意したJDKが一覧に存在しない場合は AddからStandard VMを選択し、Directoryから用意したJDKを選択し追加する。
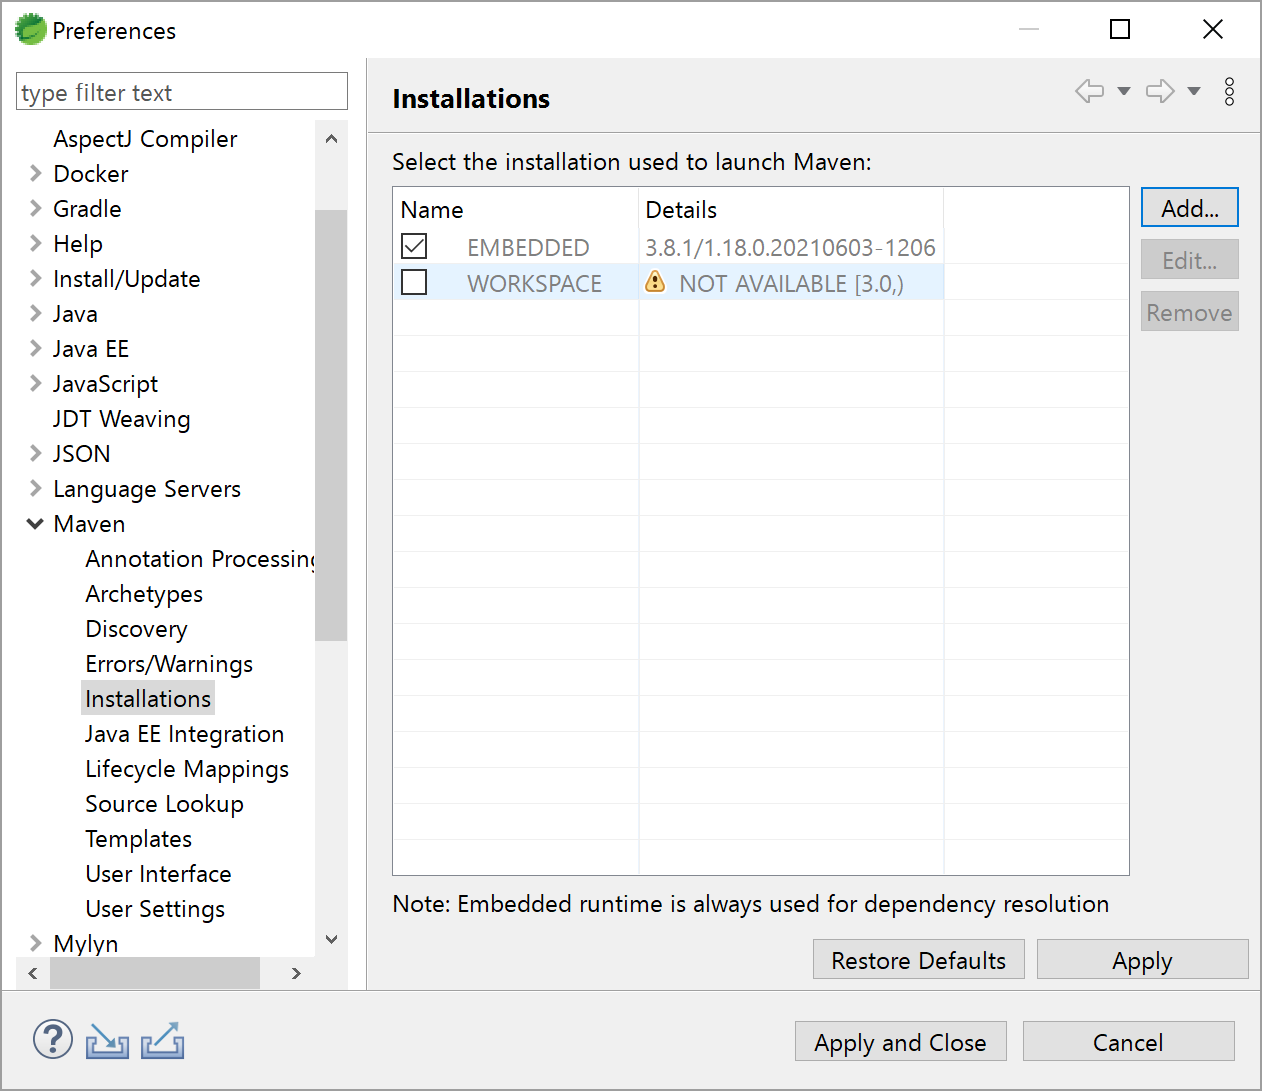
12.4.3.3. Maven設定
Window > Preferences > Maven > Installations からAddを選択し、Directoryから用意したMavenを選択し追加する。
12.4.3.4. Server設定
Window > Show View > Other… > Server > Servers を選択し、Serverビューを表示する。
Serverビューを右クリックし、New > Serverを選択する。
Apache配下から使用しているTomcatのバージョンと一致するTomcatを選択しNextを押下する。
Browseから事前にインストールしておいたtomcatを選択し、Finishを押下する。
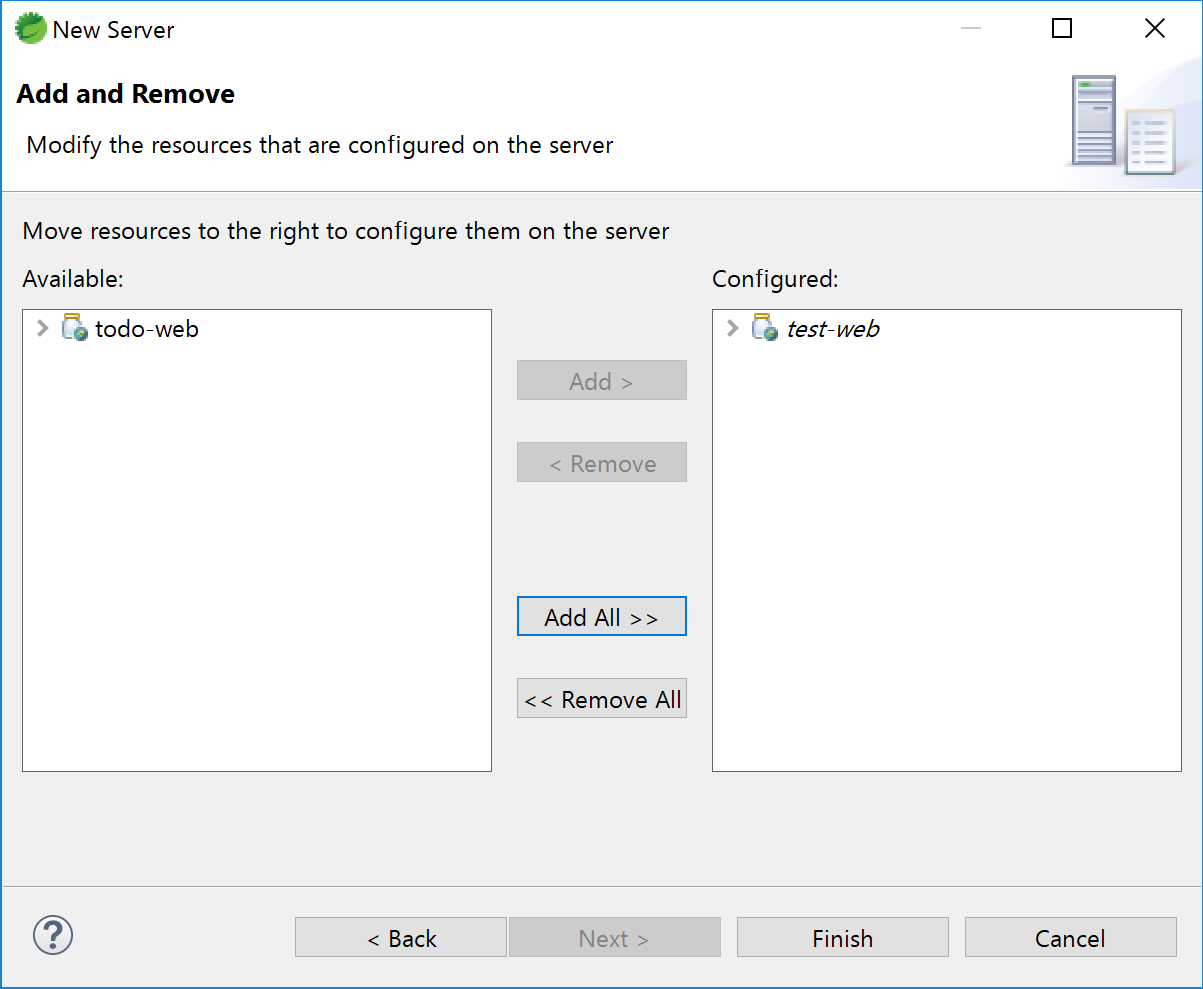
サーバにアプリケーションを設定したい場合は、追加したサーバを右クリックしてAdd and Removeを選択する。表示された画面のAvailableにある動作させたいアプリケーションを選択し、AddでConfiguredに追加してFinishを押下する。
アプリケーションを設定したサーバを右クリックし、Startを選択してサーバを起動する。
12.4.4. Javaバージョンが異なる場合の対応
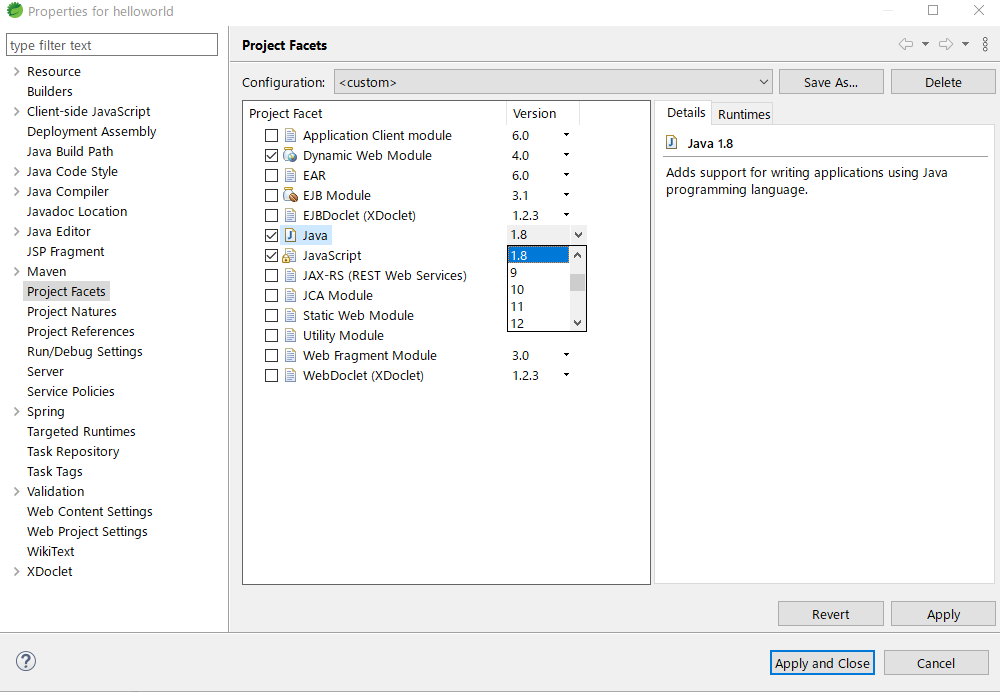
12.4.4.1. Project Facetsの設定
プロジェクトを右クリック > Properties > Project Facets を選択し、Javaのバージョンを変更する。
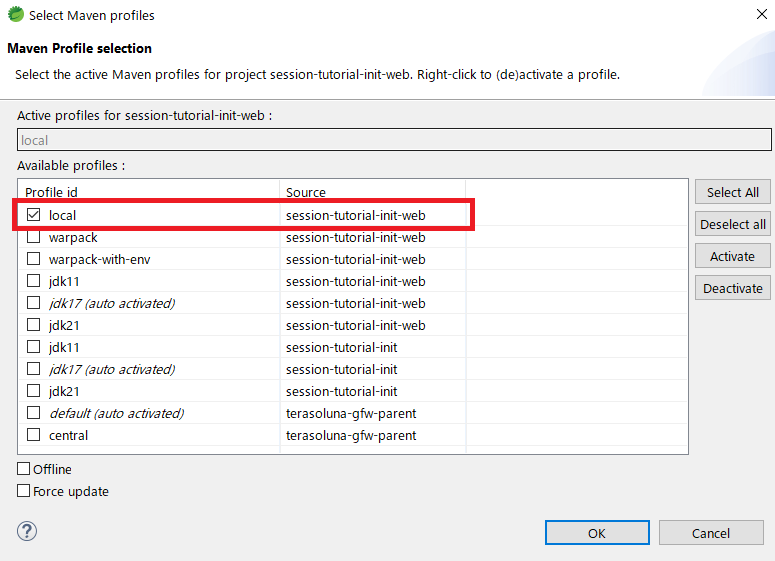
12.4.4.2. Maven Profileの設定
localプロファイルがactiveByDefault=trueに設定されているため、localプロファイルを有効にする必要がある。プロジェクトを右クリック > 「Maven」->「Select Maven Profiles…」をクリックし「local」にチェックを入れて「OK」ボタンを押下する。
プロジェクトによりMaven Profileの設定は異なるため、各プロジェクトのpom.xmlを参照し、適切に設定を変更されたい。